04 Add context information
Dialogflow Flowcharts
In my tutorial which discusses how to move to the next intent, I point out that you can do this by setting the appropriate input and output contexts.
Add a new node under node 2 and add the text await_has_fur into the node as shown below

Select the node highlighted and click on CTRL-X or CMD-X to cut the node.

After you cut the node, the map looks like below

Now select the await_has_fur node and click on CTRL-V or CMD-V to paste the previous node. The mindmap looks like below.

Select the other node under node 2 and CTRL-X or CMD-X. This time Mindomo cuts the entire branch.

And when you click on Paste under the await_has_fur node, the entire branch gets pasted below.
This is the main reason why mindmapping tools are superior to diagramming tools like draw.io or LucidChart
When you move nodes around, the software should automatically format the layout.

Select the await_has_fur node and change its shape to ellipse. We will use the ellipse to represent contexts.
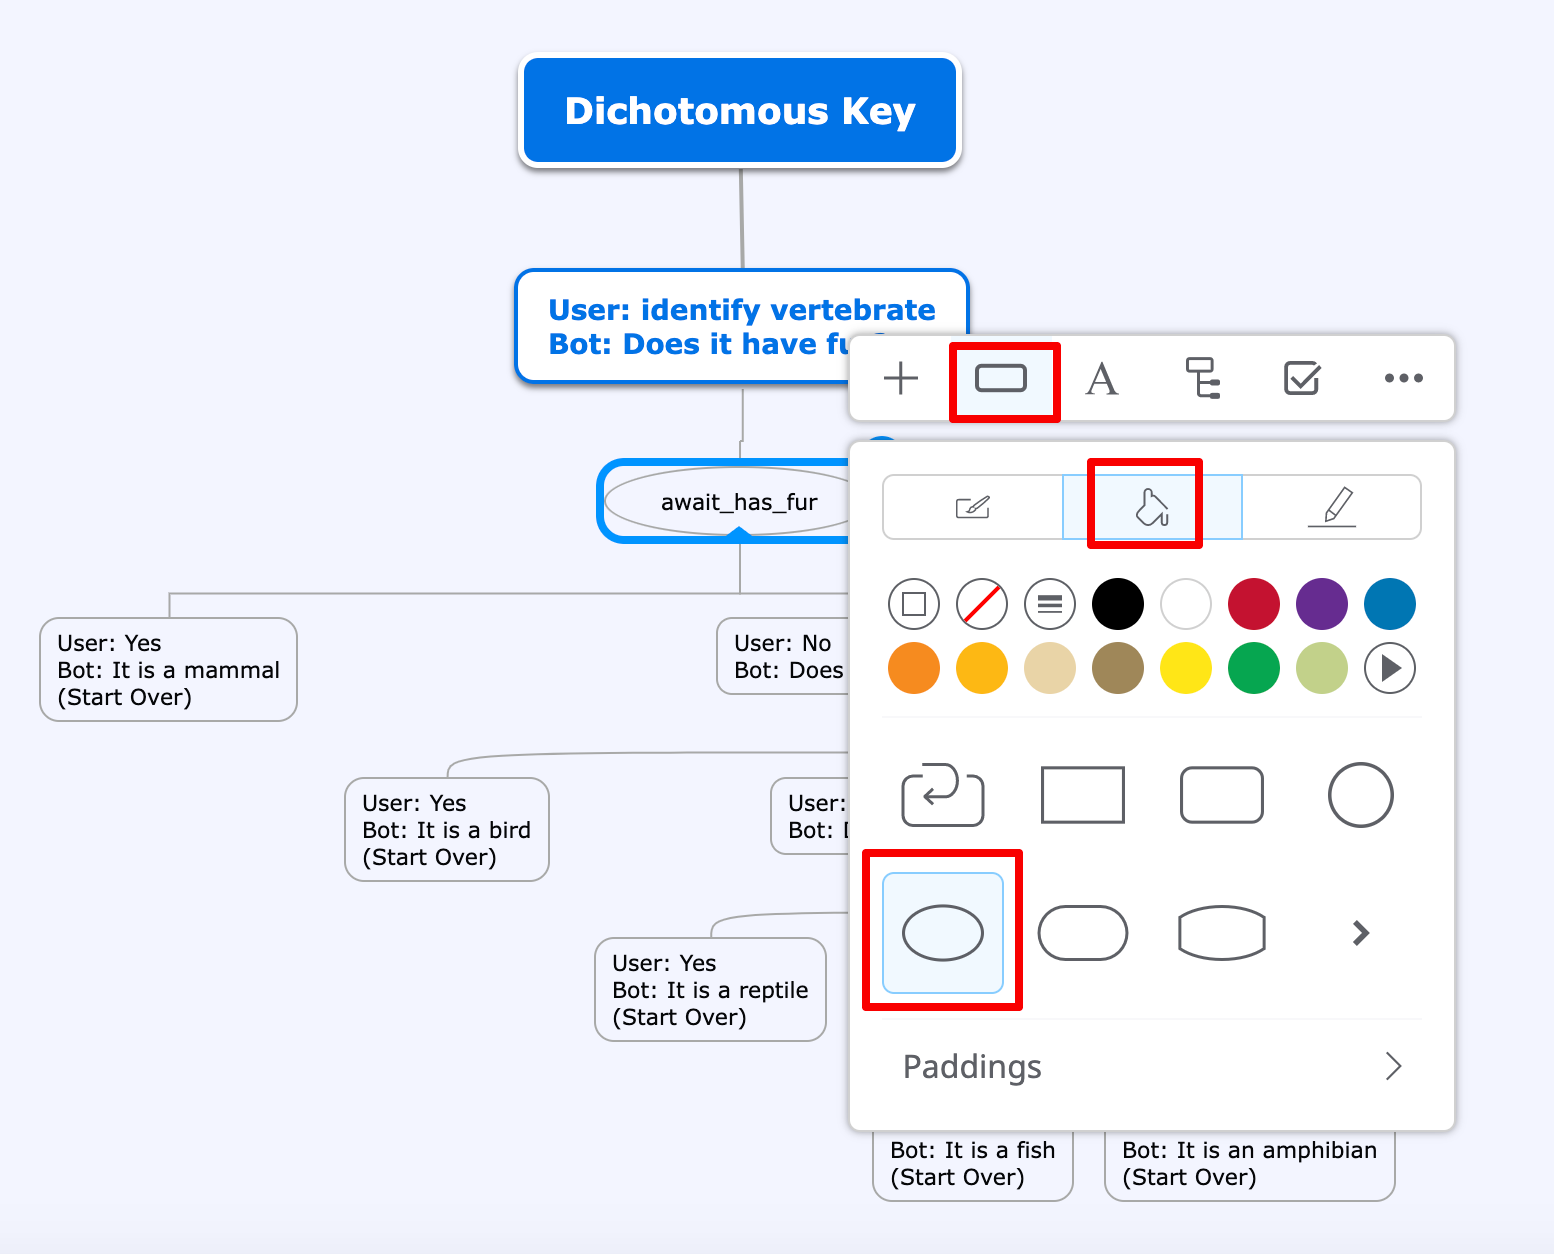
After you change the shape to ellipse, the flowchart looks like below.

Now add all the other contexts into the mindmap.

This is a visual representation of how we can use input and output contexts to chain intents in Dialogflow ES.